Open the Room you want to manage.
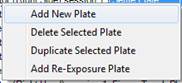
Right click anywhere within the Room Plates frame and select Add New Plate from the drop down menu.
At the bottom of the Room Plates list a blank row will appear. Enter into this row the Plate Location, Plate Type, Alert Level, Action Level, and tick if it is in a critical zone or transfer hatch.

Using the Lock Columns button you can change the table view so that you can easily select which Instances this plate is part of.
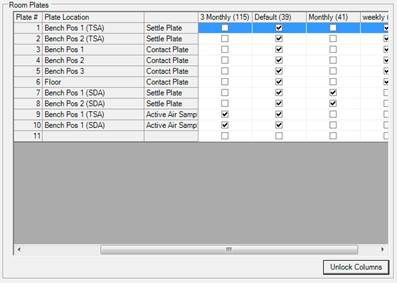
If the plate needs to appear in a different position on the list then click and drag the plate number up to a higher location.
Click the Save button to save the changes to the room.

The Room Saved dialog will confirm that the changes have been saved.