Releasing Exception Reports
N.B. This is only relevant if you have the releasing feature enabled on the system. To Release Results you must be a Super-User.
-
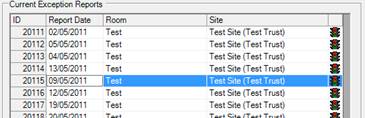
From the Exception Report List click the Current Exception Report button. The first button on the menu bar.

N.B. If you know the Exception Report ID you can search for it using the search feature.
-
From the Current Exception Reports List, double click on your exception report you require.
-
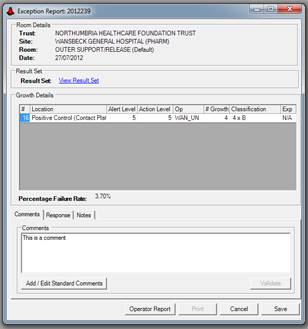
The Exception Report form will open, showing all the details of the chosen exception.
-
Enter any comments you have into the comments box. You can use the standard comments in here.
-
Click the Save button, to Save the report before releasing the report.

-
Click the Release button, this will start the release process.

-
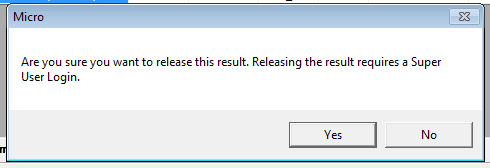
Because you must be a super-user to complete this operation, a dialog box will display asking you to confirm that you are a super user and want to proceed. Click Yes to continue.
-
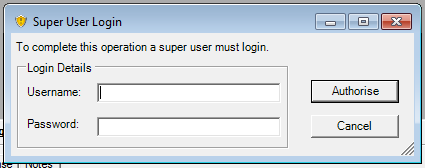
At the Super-User Login enter your username and password, and click the Authorise Button.
-
The Exception Report Released Dialog will confirm that the Exception Report has been successfully released and is ready to be printed if required. Click OK to continue.
N.B. If you do not need to print the exception report then you do not need to complete the following steps.
-
Click the Print button to start generating the report.

-
If you do not have preview mode enabled then the report will be sent straight to the printer.
-
Once the report has printed you will see the Confirm Report Printed dialog. If the report has printed as expected click the Yes button. This will move the report into the printed list. Clicking No will allow you to re-print the report and the report will stay in the Current Exception Reports list.

N.B. If you have the preview mode enabled then you will see the report pop up behind the Confirm Report Printed button. As long as you can see the report click the Yes button. You will then be able to print from the report preview.